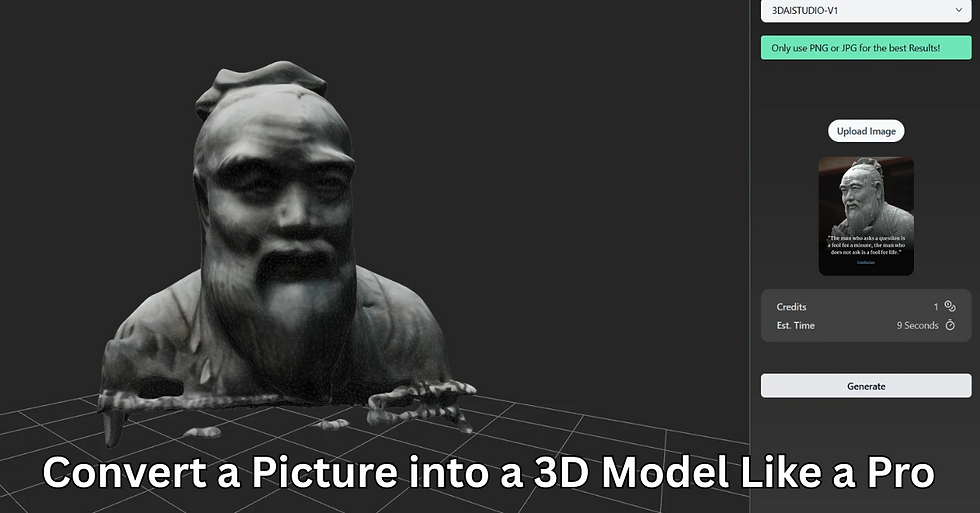
Step-by-Step Guide: Convert a Picture into a 3D Model Like a Pro
- webtechguestpost
- May 6, 2025
- 3 min read
Imagine transforming a simple photo into a detailed 3D model—ready for 3D printing, animation, or virtual reality. Whether you're a hobbyist or a small business owner trying to produce custom products, mastering the art of turning a picture into a 3D model opens up endless creative and commercial possibilities.
But how do you do it with precision, efficiency, and professional flair? This guide walks you through every step, blending practical insights with expert tips so you can create stunning 3D models from your images—no guesswork involved.
Why Convert a Picture into a 3D Model?
The demand for 3D models grows daily across industries—gaming, e-commerce, architecture, and manufacturing. Converting pictures into 3D models offers advantages like:
Visualizing concepts quickly
Customizing products without costly molds
Enhancing digital content with realistic assets
Plus, with the best 3D printer for a small business, you can produce prototypes or finished items directly from your 3D models, streamlining your workflow.
Choosing the Right Tools for Creating 3D Models from Pictures
Before diving into the process, selecting appropriate software is key. Here's a quick comparison:
Table
Software Name | Key Features | Best for | Cost |
Meshroom | Open-source, supports photogrammetry | Beginners and pros | Free |
Agisoft Metashape | High-quality reconstructions | Professionals | Paid, subscription |
RealityCapture | Fast processing, high detail | Commercial projects | Paid |
Regard3D | Open-source, community-supported | Hobbyists | Free |
Choose based on your experience level, budget, and project complexity.
Step-by-Step Process to Create a 3D Model from a Picture
1. Capture or Select High-Quality Photos
Multi-angle Photos: For accurate 3D reconstruction, take multiple photos from different angles.
Consistent Lighting: Minimize shadows; use soft, uniform lighting.
Clear Focus: Ensure images are sharp and well-exposed.
Tip: Use a turntable for static objects to simplify capturing multiple perspectives.
2. Prepare Your Images
Organize Files: Keep all images in a dedicated folder.
Edit for Clarity: Slightly enhance contrast if needed.
Reduce Noise: Use editing tools to clean images, ensuring better processing results.
3. Use Photogrammetry Software
Import images into your chosen platform (e.g., Meshroom).
Follow software prompts to align photos—this step reconstructs the scenes in 3D space.
Generate sparse point clouds, then dense clouds, which build the foundation for your 3D model.
Pro tip: Patience is essential; complex scenes may take hours to process.
4. Clean and Refine the 3D Model
Remove unnecessary points or noise.
Fill holes or gaps in the mesh.
Simplify the mesh if needed, especially for real-time applications or printing.
5. Texture Your Model
Apply textures derived from your original photos.
Adjust for realistic surfaces or stylized effects as needed.
6. Export the Final Model
Save your model in compatible formats like STL, OBJ, or FBX.
Ensure your model adheres to the specs of your intended use, like 3D printing or virtual environments.
Enhancing Your Workflow: Tips & Best Practices
Use a Turntable: Rotating objects or taking photos around a stationary subject improves model detail.
Control Environment: Avoid reflective or transparent surfaces that confuse photogrammetry software.
Optimize for 3D Printing: Use cleanup tools in software like Meshmixer to prepare models for printing with the best 3D printer for a small business.
Leverage AI Tools: Emerging AI-based apps like Deep Dream Generator or NVIDIA's Omniverse can automate parts of the process, saving time and effort.
The Future of Converting a Picture into a 3D Model
Emerging technologies promise even smoother workflows, with AI-driven algorithms that require fewer images or effort. For example, some apps now allow direct photo-to-3D conversions, making this process accessible for non-experts.
Frequently Asked Questions
How accurate can a 3D model created from a picture be?
Accuracy depends on image quality, number of angles, and software used. Well-captured multi-angle photos can produce detailed models suitable for prototyping and visualization.
Is it possible to convert hand-drawn sketches into 3D models?
Yes, via sketch-based modeling tools or by first creating a 2D outline in software like Blender or Fusion 360 and then extruding it into 3D.
Can I use smartphone photos for creating 3D models?
Absolutely. Modern smartphones produce high-resolution images, and many photogrammetry apps are optimized for mobile use, perfect for quick projects or small-scale products.
Wrapping Up
Turning a picture into a 3D model might seem complex at first, but with the right approach, tools, and patience, it becomes an exciting, creative journey. Whether you're designing prototypes or enhancing content, mastering this skill can significantly expand your capabilities.
If you’re exploring options for your next project or small business, remember that combining high-quality images with powerful software opens doors for innovative 3D creations. And with the best 3D printer for a small business, you can bring digital models into the physical world with ease.


Comments